
Hello everyone. Today we’ll be doing a very easy repair on the Eurosat DVB-8004 satellite receiver. According to the owner, the receiver took longer and longer to turn on each time until it finally stopped turning on altogether at one “wonderful” moment.
Diagnosis of the malfunction.
Firstly, it is necessary to confirm the malfunction. To do this, the receiver was connected to the power supply, but as stated, it did not show any signs of life.
Next, the receiver was disassembled. To do this, it was necessary to unscrew 3 screws on the cover.
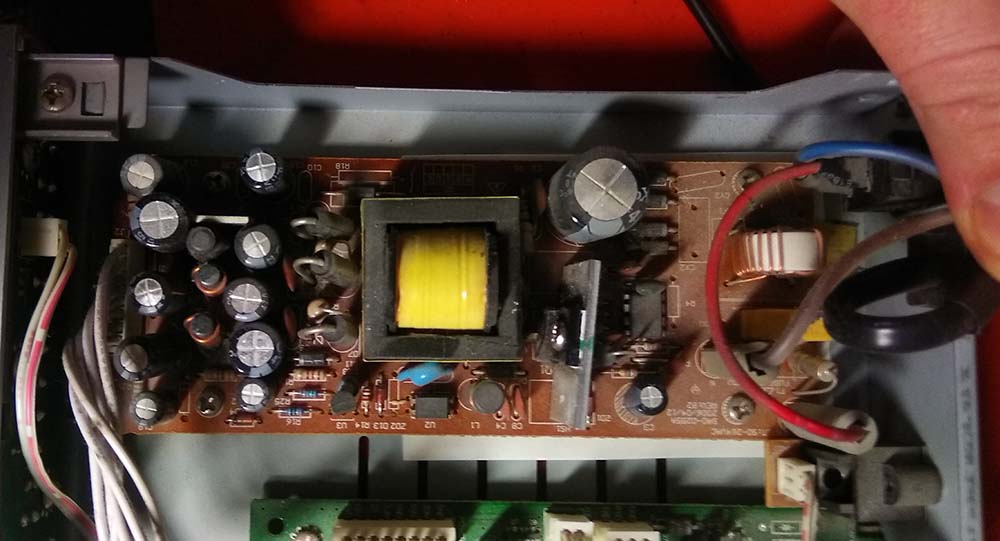
The receiver consists of two boards. The first board, which is connected to the 220-volt cord, is the power supply.
The second board is the so-called main board. It houses all the main modules that are responsible for receiving satellite signals and reproducing them on the TV screen.
In this receiver, the malfunction is visible to the naked eye. The caps on 5 capacitors have swollen and need to be replaced.

At this stage, I proceeded to eliminate the clearly visible defects, namely replacing the capacitors with new ones.
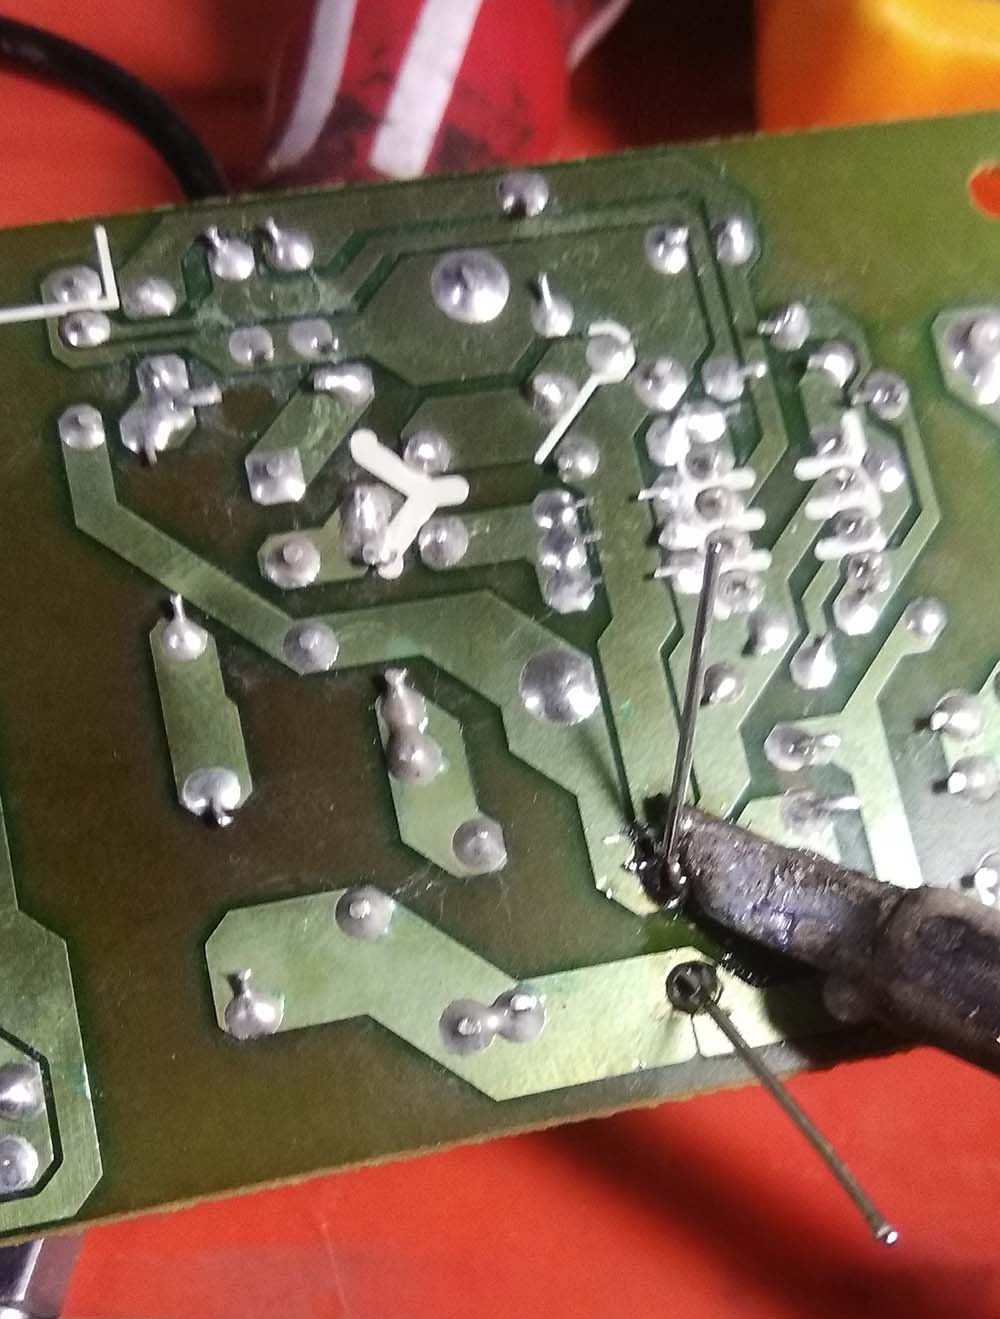
I began to desolder the old capacitors one by one and immediately replaced them with new ones.
When replacing capacitors, it is important to remember one rule. It is better to replace capacitors with the same nominal values that were previously installed, but never with smaller ones.
In my case, I had all the nominal values except for a 220μF capacitor at 35 volts. It was not critical because I had a 470μF capacitor at 35 volts. I installed it instead of the 220μF capacitor at 35 volts.
It is important to pay attention to the voltage rating of the capacitor. For example, if you have a burned out 1000μF capacitor at 16 volts, you can replace it with a 1000μF capacitor at 25 volts, but not with a 1000μF capacitor at 10 volts.
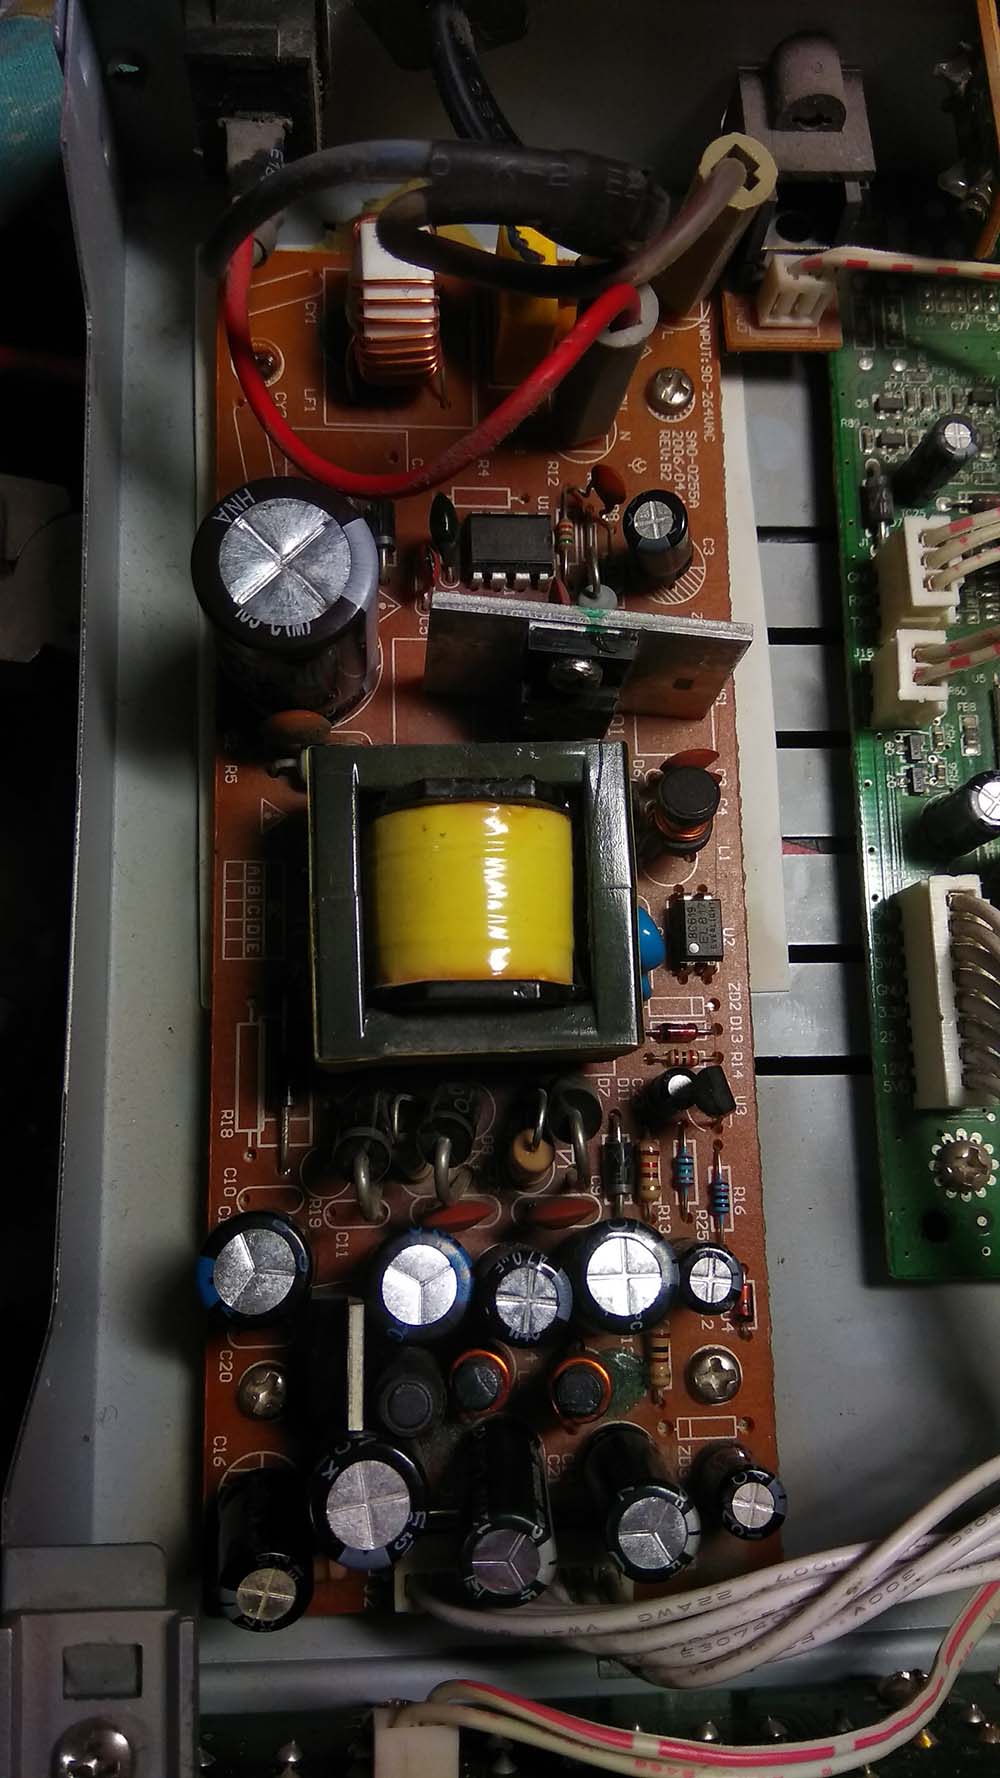

After replacing all faulty capacitors, the receiver started up.
I used a multimeter to measure the output voltages, which turned out to be normal.
That’s the simple repair. Thank you all for your attention, and see you soon.


